DIY Glitter Ornaments: Fun, Affordable, and Perfect for Gifts or Home Decor Leave a comment

Hey busy moms! If you’re looking for a fun, low-cost craft that doubles as adorable home decor or personalized gifts, making glitter ornaments at home is the perfect project. The best part? Kids can help, making it a family-friendly activity that sparks creativity.
Here’s my step-by-step guide, complete with product suggestions and Amazon links so you can get everything you need easily.
What You’ll Need
Here’s my go-to list for making these sparkling ornaments:
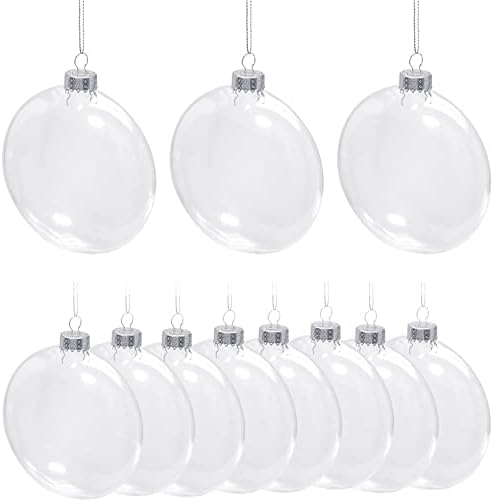


- Clear plastic or glass ornaments – I like the shatterproof plastic ones for kid-friendly crafting.
- Glitter – I love using fine and chunky glitter for extra sparkle. Pick your favorite colors!
- Polycrylic or Mod Podge – This is what helps the glitter stick and keeps your ornament shiny.
- Ribbons (optional) – For hanging or adding decorative bows.
- Vinyl (optional) – Perfect for adding names, dates, or holiday-themed designs.
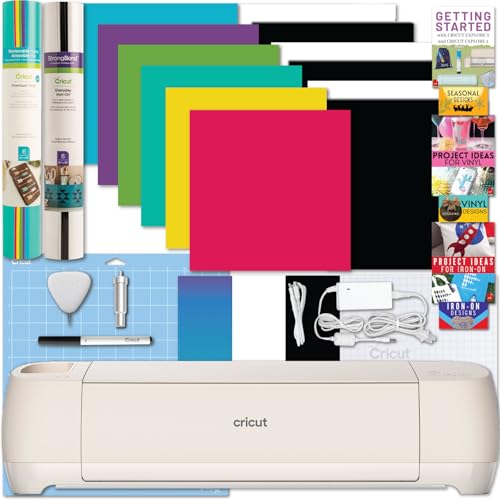
- Cricut Air 4 – My favorite tool to cut vinyl for custom designs.
Step-by-Step Instructions
- Prep Your Ornament
Remove the top of your clear ornament and make sure the inside is clean and dry. - Add Polycrylic
Pour a small amount (about 1 Tablespoon) of polycrylic inside the ornament and swirl it around to coat the entire interior. Tip: Use a disposable cup to catch excess. Lay it upside down and let it drip for 2-3 min in a cup. - Add Glitter
Pour in glitter—start with a teaspoon at a time—then tilt and rotate, shake the ornament until the inside is fully coated. Pour out any extra. - Let Dry
Place the ornament on a paper towel or cup to let it dry upside down. This usually takes a few hours to 24 hrs for it to dry completely. - Add Vinyl Designs (Optional)
If you want to personalize, I use my Cricut Air to cut vinyl. Add names, dates, or holiday shapes to the outside. Peel and stick carefully. - Add Ribbon or Decorative Touches
Tie a bow, hang a charm, or add extra decorations to make it unique.
Tips & Tricks
- Kid-Friendly Version: Let little ones pour glitter or add ribbons. Just prep a tray or newspaper to catch spills.
- Mix & Match Colors: Combine glitter colors for a unique look. I often match my ornaments to my holiday decor.
- Perfect for Gifts: Personalize with names or family initials—it makes a heartfelt, handmade present.
These DIY glitter ornaments are low-cost, fun, and versatile, perfect for holiday decorations, birthday gifts, or even just a little sparkle around the house. Once you get the hang of it, you’ll be making them all year long!
Want One Without the Mess? I’ve Got You!
Let’s be honest… glitter crafting can be fun, but it can also turn into glitter everywhere (moms know what I mean 😅).
If you love the look of these sparkly ornaments but don’t have time to DIY them yourself, I also make handmade glitter ornaments in my shop! They’re perfect for holiday decor, personalized gifts, teacher gifts, and keepsakes for special events.
I create custom ornaments with names, holidays, birthdays, and special themes, so you can get something unique without having to pull out the craft supplies.
✨ Check out my handmade glitter ornaments here:
Etsy Shop: https://ariemsbowtique.etsy.com
Whether you decide to DIY them with the kids or grab one ready-made from my shop, glitter ornaments are such a fun way to add sparkle to your home and create special memories.
Happy crafting, mama!
— Trea | BizeeMom808